Convert JPEG to TIFF on Mac
Select the JPEG files in Finder, press ⌥ F, choose TIFF and press Return. FileFlip saves each TIFF next to its original and works without an internet connection.
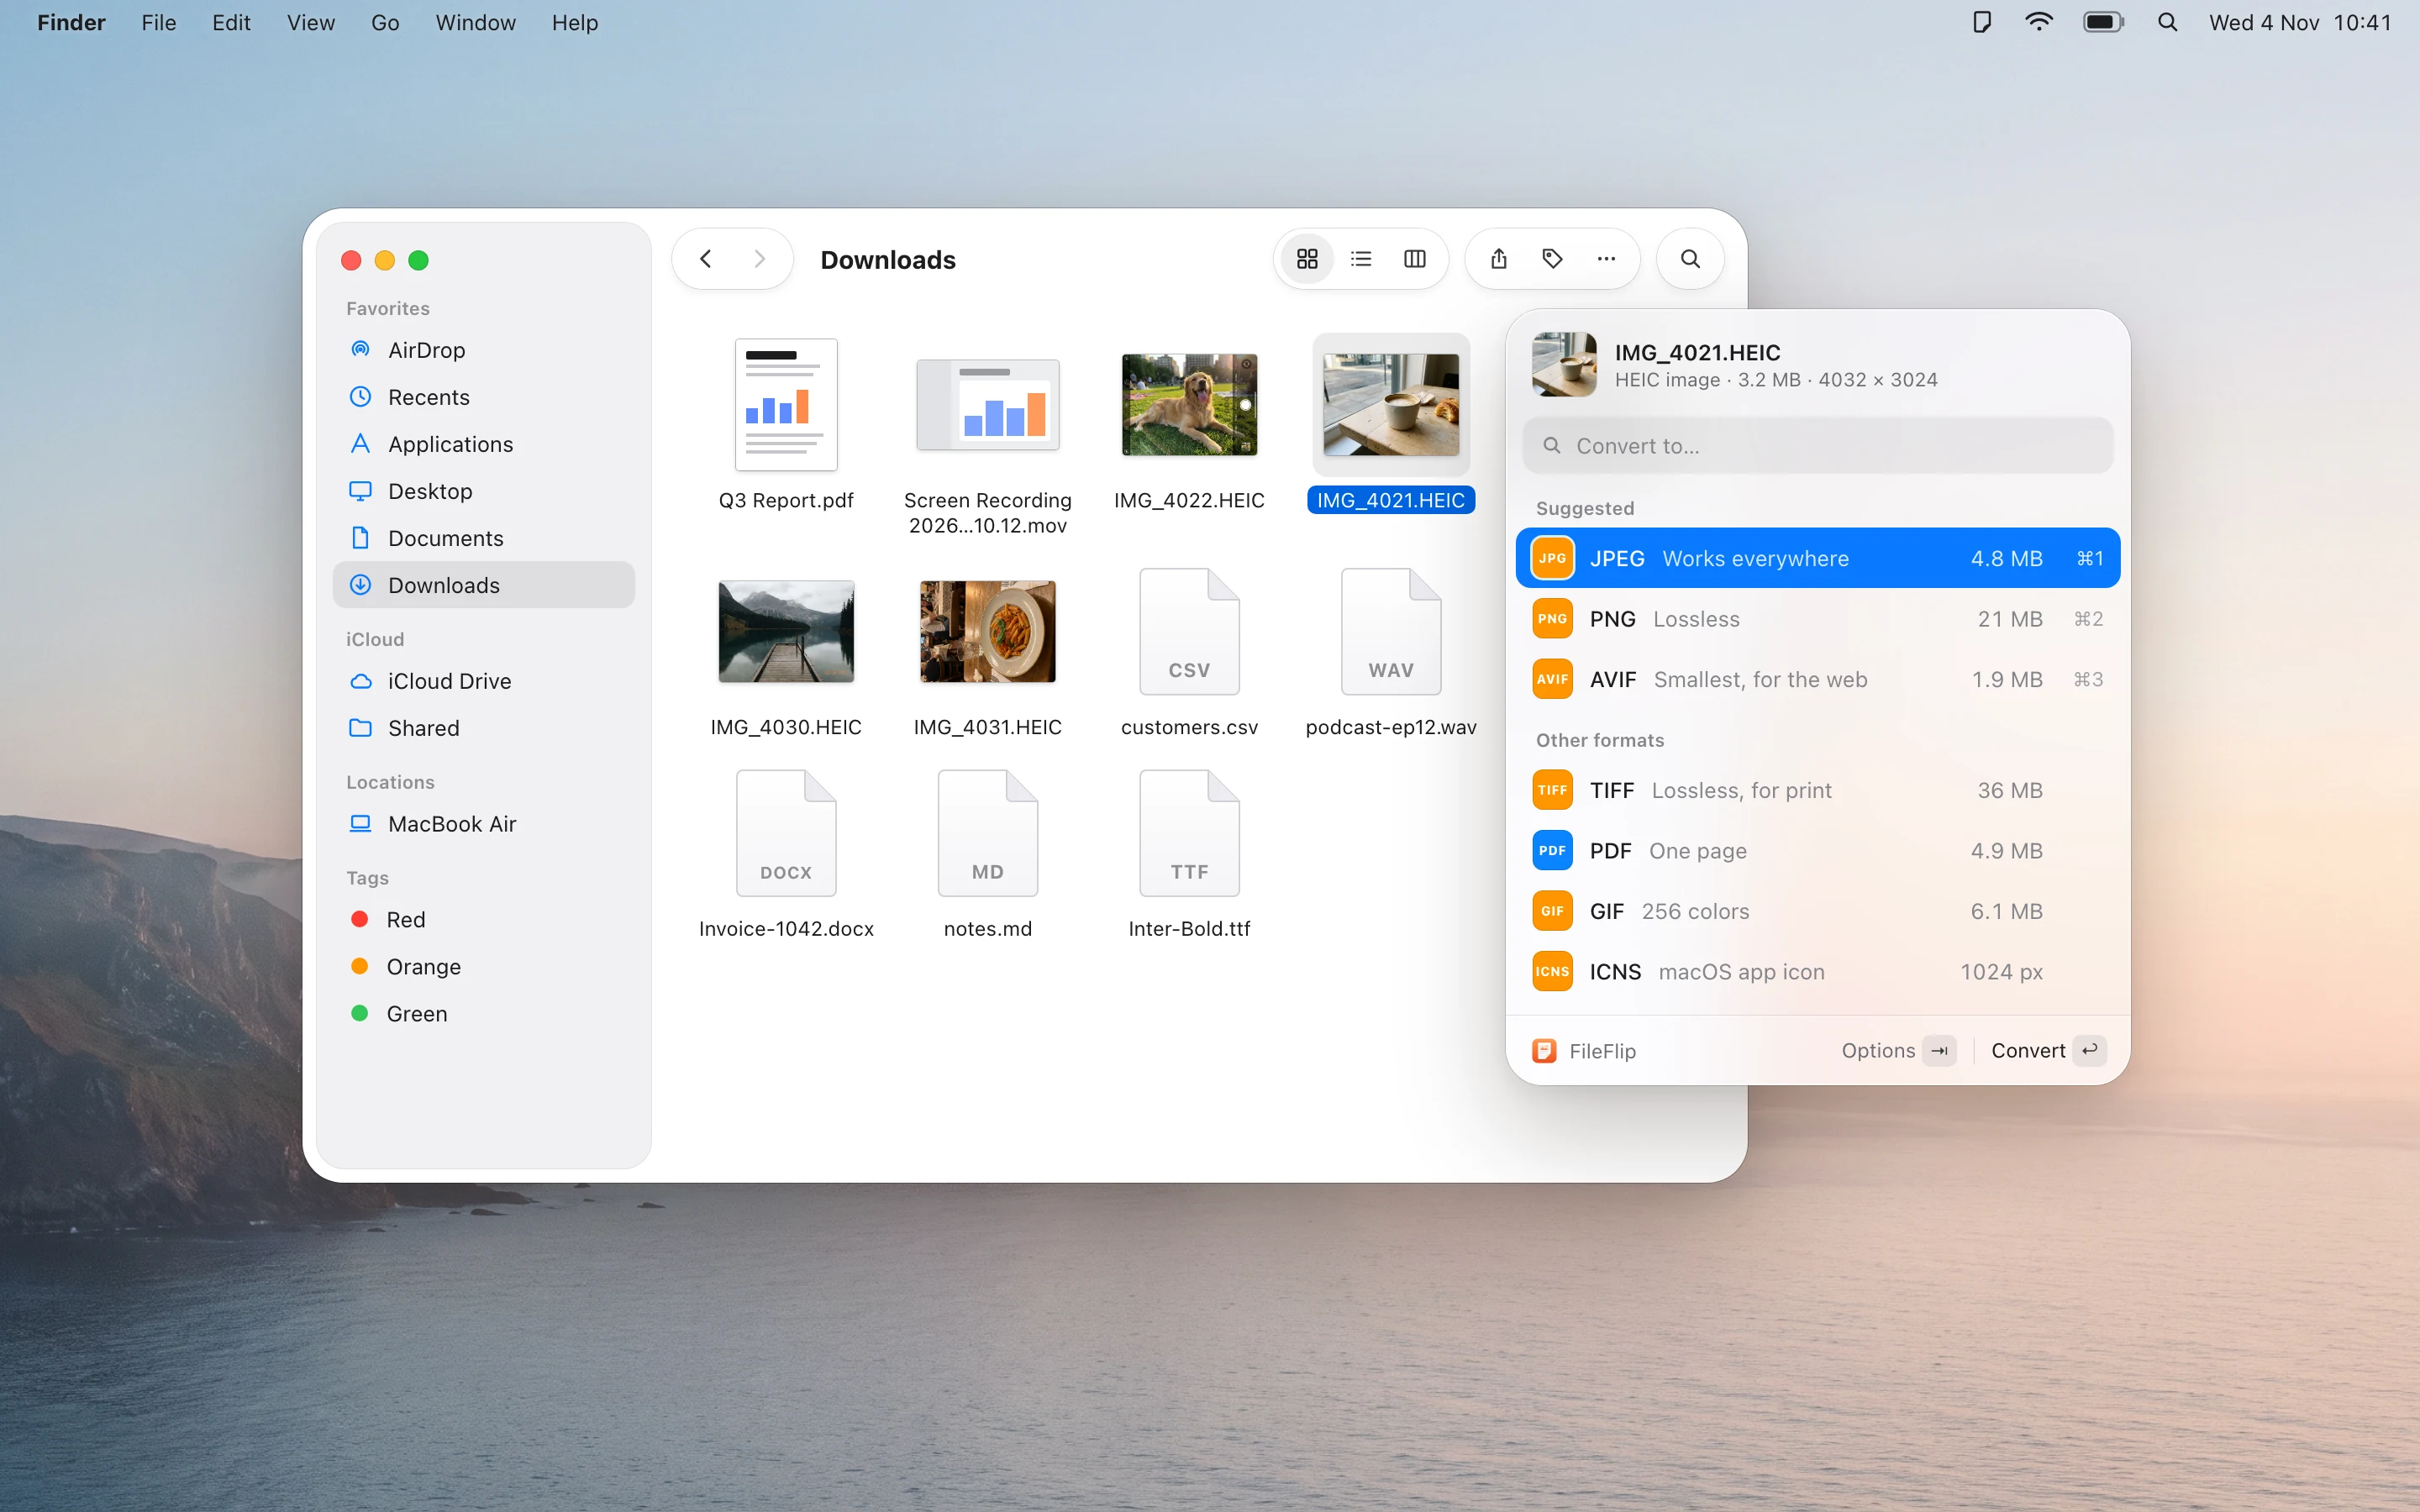
How to convert JPEG to TIFF with FileFlip
Select the JPEG files
In Finder or on the Desktop. One file, or a whole folder with ⌘ A.
Press ⌥ F
FileFlip opens next to the selection and lists the formats it can make from JPEG. Type “TIFF” to jump to it.
Choose TIFF and press Return
The TIFF files appear next to the originals with the same names. The JPEG files stay as they are.
JPEG and TIFF
JPEG is lossy and has no transparency, so it’s a poor fit for graphics, screenshots or files you’ll keep editing. TIFF is lossless and accepted by print shops and archives.
What changes when you convert
- TIFF is lossless, so nothing more is lost, but it can’t bring back detail that JPEG compression already removed. Expect a bigger file.
| Property | JPEG | TIFF |
|---|---|---|
| Full name | Joint Photographic Experts Group | Tagged Image File Format |
| Made by | Joint Photographic Experts Group | Aldus, now Adobe |
| Introduced | 1992 | 1986 |
| Compression | Lossy | Usually lossless or uncompressed |
| Transparency | No | Yes |
| Best for | Photos you want to send, upload or print anywhere | Printing, scanning and archiving |
| Opens in | Every computer, phone, browser and photo app | Preview, Photoshop and most image editors; most web browsers don’t display it |
| File extension | .jpg, .jpeg | .tiff, .tif |
| In FileFlip | Opens and saves | Opens and saves |
Other ways on a Mac
For one file now and then you may not need FileFlip. These work with what’s already on your Mac.
Preview
Open the JPEG in Preview, choose File → Export, pick TIFF from the Format menu and click Save. For several files, open them together, select all thumbnails in the sidebar and choose File → Export Selected Images.
Good for a few files now and then.
Photos
If the pictures are in your Photos library, select them, choose File → Export → Export Photos and set Photo Kind to TIFF.
Good for pictures already in your library.
Terminal
The sips command converts images in place or into a new file.
sips -s format tiff photo.jpg \
  --out photo.tiff
Built into macOS and good for scripts. Run sips --formats to see what your macOS version can read and write.
Questions about JPEG and TIFF
Does converting JPEG to TIFF lose quality?
TIFF is lossless, so nothing more is lost, but it can’t bring back detail that JPEG compression already removed. Expect a bigger file.
Can I convert many JPEG files at once?
Yes. Select them all in Finder, press ⌥ F and choose TIFF. Progress moves to the menu bar, so you can close the panel and keep working.
Will the TIFF keep the date, camera and location?
Yes, metadata is copied by default. Turn on “Remove location” in the options before you share photos publicly.
Where is the TIFF file saved?
Next to the original, with the same name and the .tiff extension. The JPEG file isn’t changed. In Settings you can choose a different folder instead.
Can I convert TIFF back to JPEG?
Yes, FileFlip converts TIFF to JPEG as well.
Are my files uploaded anywhere?
No. FileFlip converts files on your Mac and works with the internet turned off.
Convert a whole folder of images at once
FileFlip also handles video, audio, PDFs, documents and data files. Requires macOS 14 Sonoma or later.
Coming soon for Mac